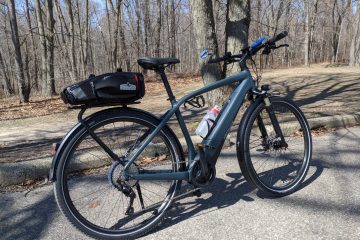
What would a winter off-season be if not for the goodies that we can buy and install on our bikes? I’ve actually been making changes on my Felt VR5 throughout the past season, but thought I’d provide a summary and review of the various changes and other purchases.These are not intended as general product reviews, but are more of a “what works for me” write-up.
My general direction with this bike is to use it for every purpose and type of ride that I can make it suitable for. The hard-core, rough off-roading chores will still be handled by my Specialized Crosstrail — and I certainly wouldn’t tackle the GAP-C&O trip that I took in 2016 with the VR5 — but I am planning on taking it this year on only the GAP portion of that epic ride. Unpaved, possibly wet, but generally smooth and not muddy. And in keeping with the original light weight of the bike, I’ve shied away from my old habit of touring with a rear rack and trunk bag. Thus the direction that you will see with what I’ve done to it so far.
OTTOLOCK
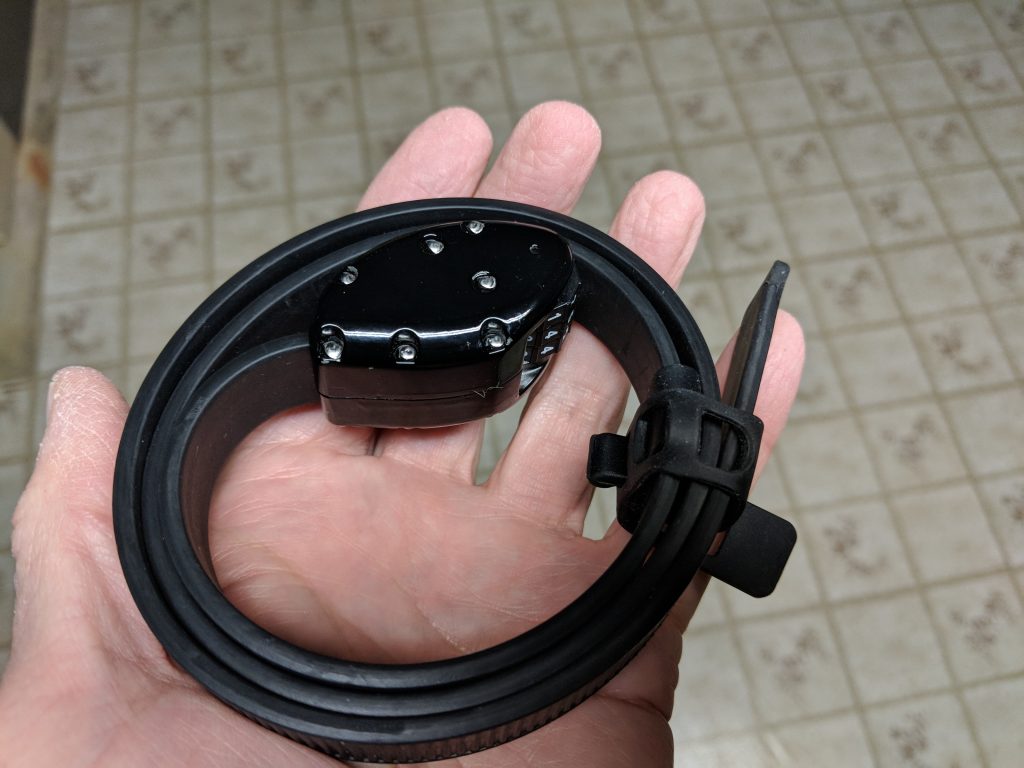
One of my best finds of the past year has been this OTTOLOCK by OTTO Designworks. I never ride my bike in a place where I’m concerned about serious bike theft, but like to be able to prevent “crimes of opportunity” and feel secure when I’m in a restaurant or cafe and the bike is parked out of sight. So although I have no use for a huge Kryptonite U-lock, I do generally carry a light cable lock in my trunk bag most of the time. This has always been a problem with my road bikes, when there is no place on the bike to conveniently carry it, and I have sometimes resorted to looping it around the handlebars on rides where I intend to stop along the way.
So the OTTOLOCK is a real revelation since it is not only light and compact enough to slip into a jersey pocket, but is also much more secure than a 1/4″ cable. I saw a video review of it where they took a typical long-handled cable cutter, which went through a typical cable lock like butter, but they couldn’t cut the OTTOLOCK. It’s made up of layers of flat steel strapping and Kevlar, with a hardened 3-digit combo lock.
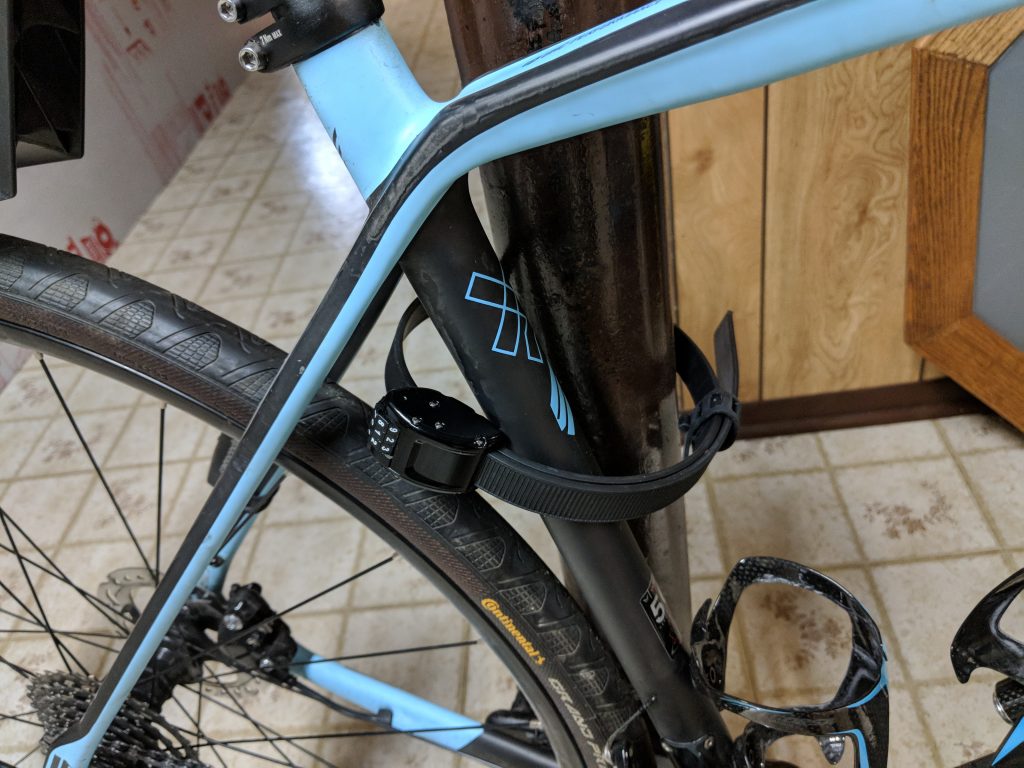
It comes in 18-, 30-, and 60-inch lengths and three colors, with the 30-inch being ideal for securing a bike. As you can see from the photo, it wraps up quite compactly. Mine came with an accessory for mounting it to a frame tube, but I sort of didn’t trust that since this is not a cheap product, and it’s just as easy to put into a pocket, seat bag, or handlebar bag (see below). Mine was an early version since I was part of their original Kickstarter campaign. I have had no trouble with it, but they say that they’ve made a number of improvements on subsequent manufacturing batches.
ORNOT Bar Bag
Riding locally or in single-day events it is rare to have to take anything along other than what fits in the seat bag or jersey pocket. But on longer rides or when conditions might change, it’s nice have a place to stash a light jacket, full-fingered gloves, sunscreen, snack bars, etc. Since I didn’t want to go the rear rack route with this bike — difficult on a carbon frame anyway — I started looking at handlebar bags. There’s a wide choice out there, but most are geared to commuters, comfort bikes, etc. and none seemed quite suitable. So I was surprised when I was leafing through an issue of Bicycling and saw a brief review of the OTTO Bar Bag. It certainly looked like what I was picturing, so I ordered one.
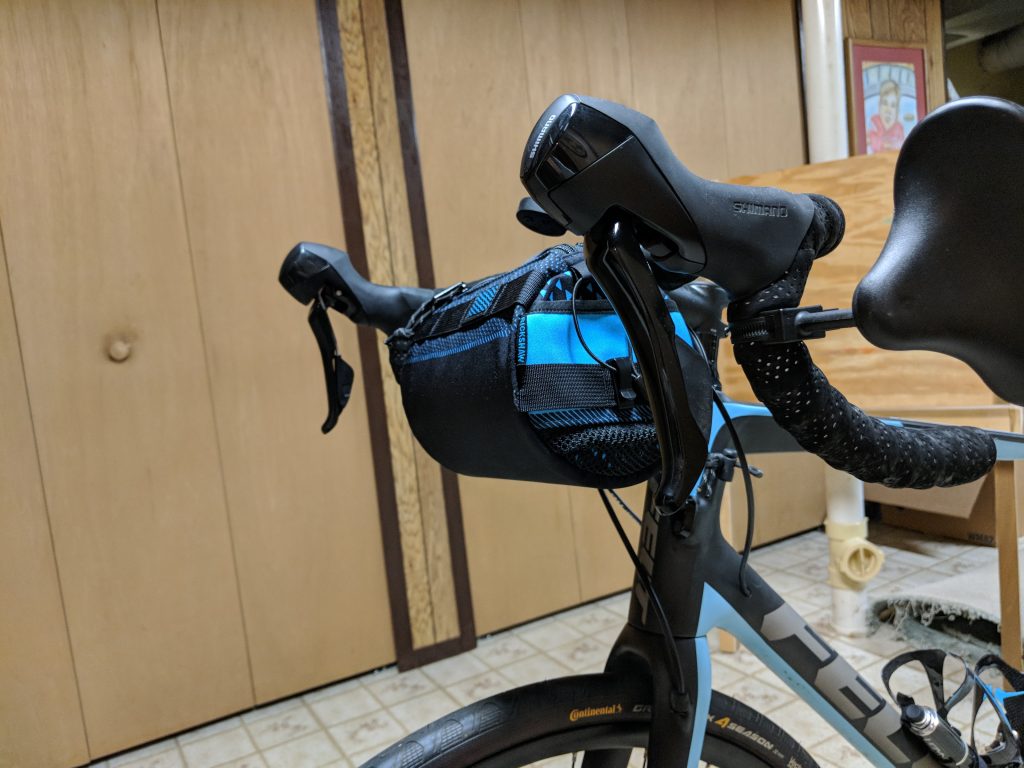
It turned out to be exactly what I was looking for: just the right size, easy on and off, and looks good on the bike to boot (OK, I was also attracted to it because it exactly matches my bike’s color scheme). I used it on last year’s Civil War tour and it came in handy on a couple of days when we had to start early and ride in inclement weather. I’ll definitely be taking it along on my trips this year.
The only drawback I’ve noticed is that in order for it to hold its shape, it’s made from a fairly stiff material. This makes it difficult to open wide and get at the contents through the zipper on top. It would be nice if it had more of a flap type of opening. Also, due to the stiffness, if you have only small objects inside, they’re going to bounce around a bit. I definitely wouldn’t carry my smartphone loose inside. It does have pockets on the ends with elastic retainer cords that are intended for providing easy access to a smartphone, but they are a bit too small for the latest larger phones, including mine.
SKS X-Tra-Dry Rear Fender
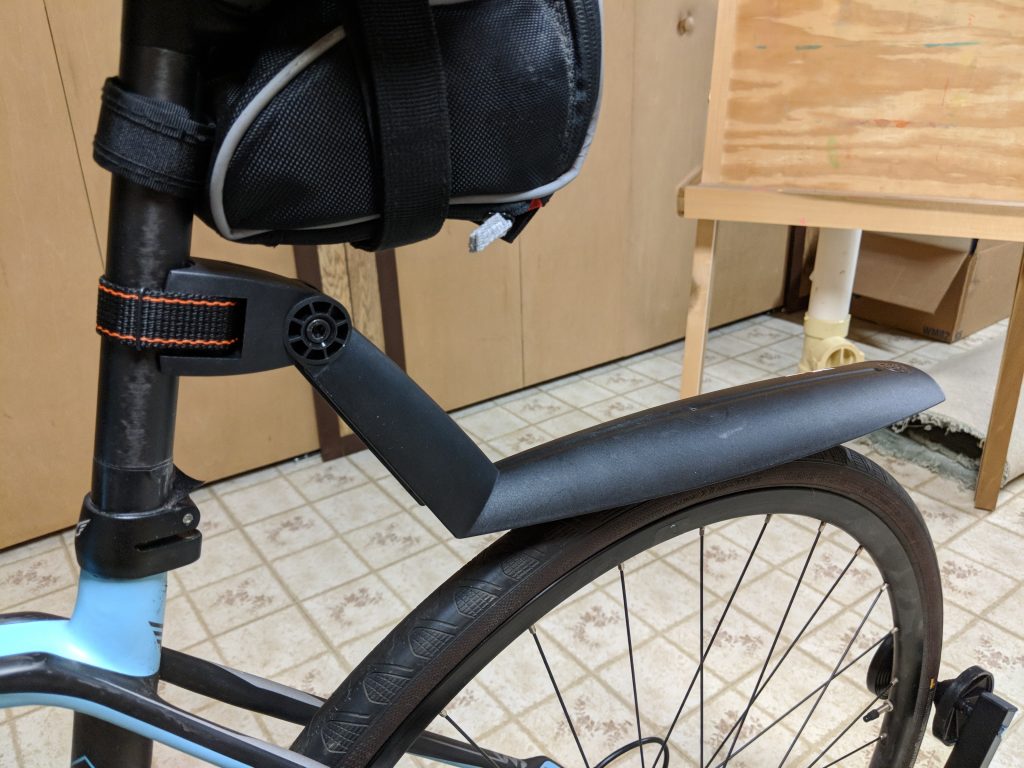
OK, I’ll fess up to being a fair-weather rider. Given my choice, I won’t go out in the rain, but there are times when there’s not much choice when I’m on a multi-day tour with a set destination for the day or when a ride looks like it will be dry but with a good chance of rain. On my GAP/C&O tour with the Crosstrail we had a full day of riding on crushed limestone in a steady drizzle followed by several days of mud on the C&O, making me glad that I had a mud deflector on the front downtube and the rear rack to protect my back. Felt does make a full set of fenders for the VR series, but I didn’t want anything that permanent or that might compromise how I transport the bike, change a flat, etc.
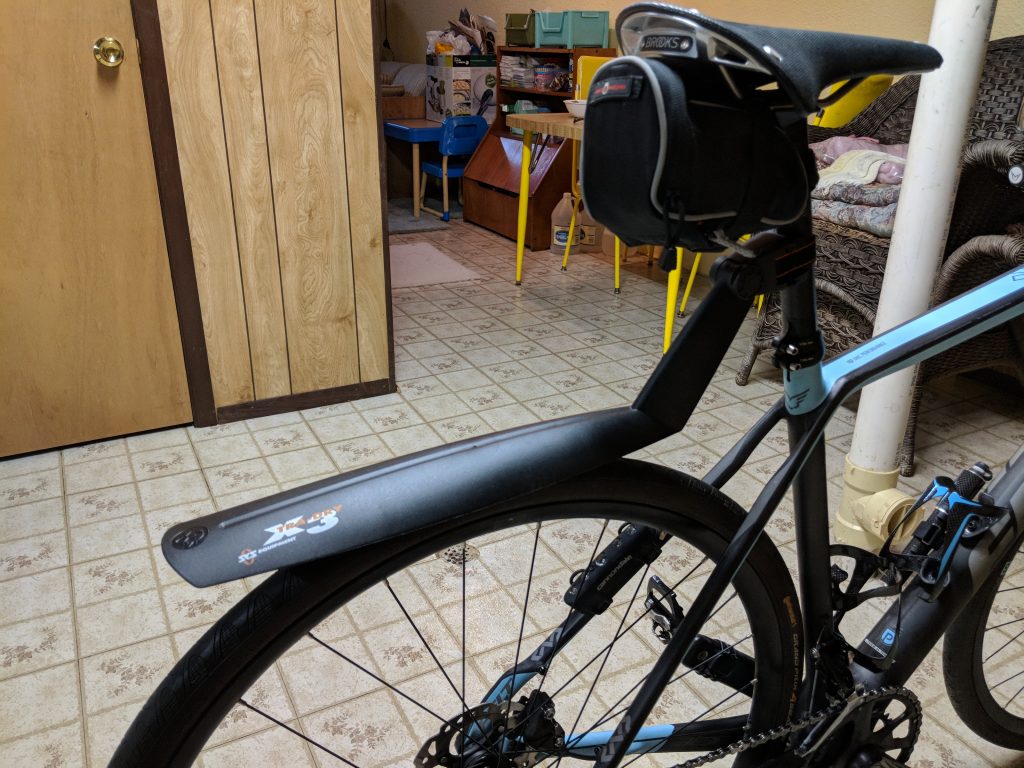
On the front I’ll use the same mudguard that I used on the Crosstrail, and for the back end I was really happy to discover the SKS X-Tra-Dry removable fender. The photos in the ads make it look like it’s strictly for MTBs. but it works perfectly well on road bikes. It’s secured with a strap around the seatpost that is adjustable for tension and can also be adjusted to whatever height and angle works best. I will definitely take this along on my GAP tour in July.
FSA SL-K Carbon 46/30 Crank
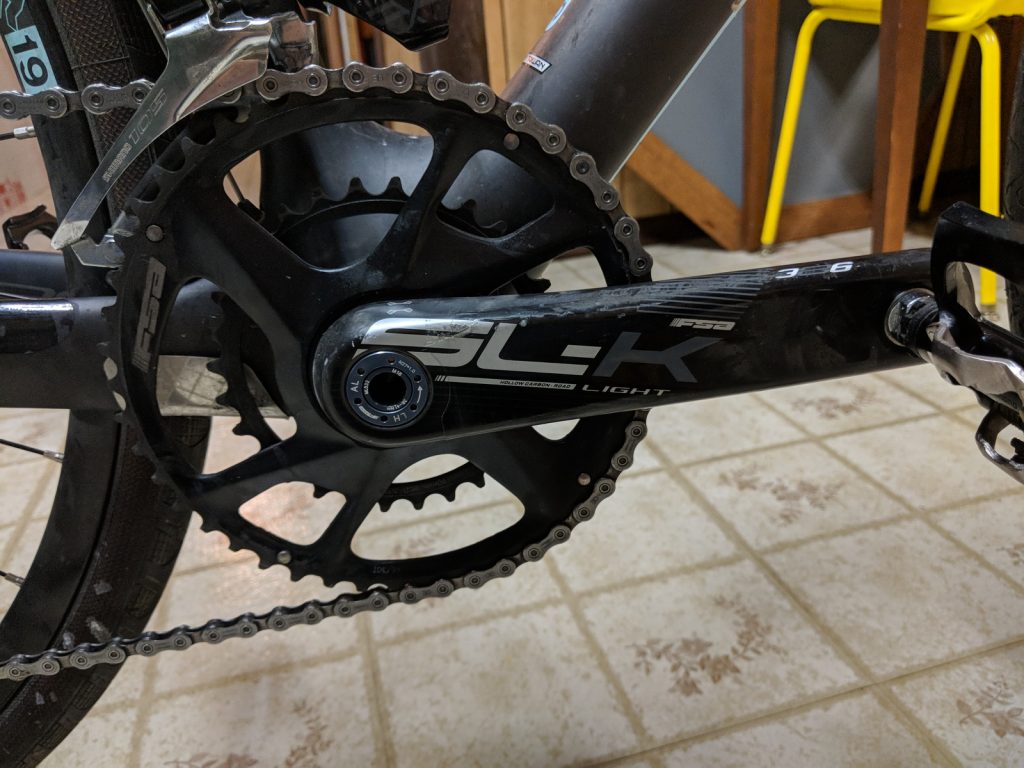
One piece of equipment that drew me to the VR series was the 46/30 crankset, and I had been disappointed that it was not offered on the VR5. It was used on other models in the lineup while the VR5 had a crank with 48/32 gearing. Only a couple of teeth, but I really wanted to go as low as I could. Thus this change that I made last summer. This is basically the crank that was offered on the VR2 and was a straight replacement for the original one — same bottom bracket and all. It only became available after my trip last year where I could have used it, so I’ll have to see where it will come in handy this year.
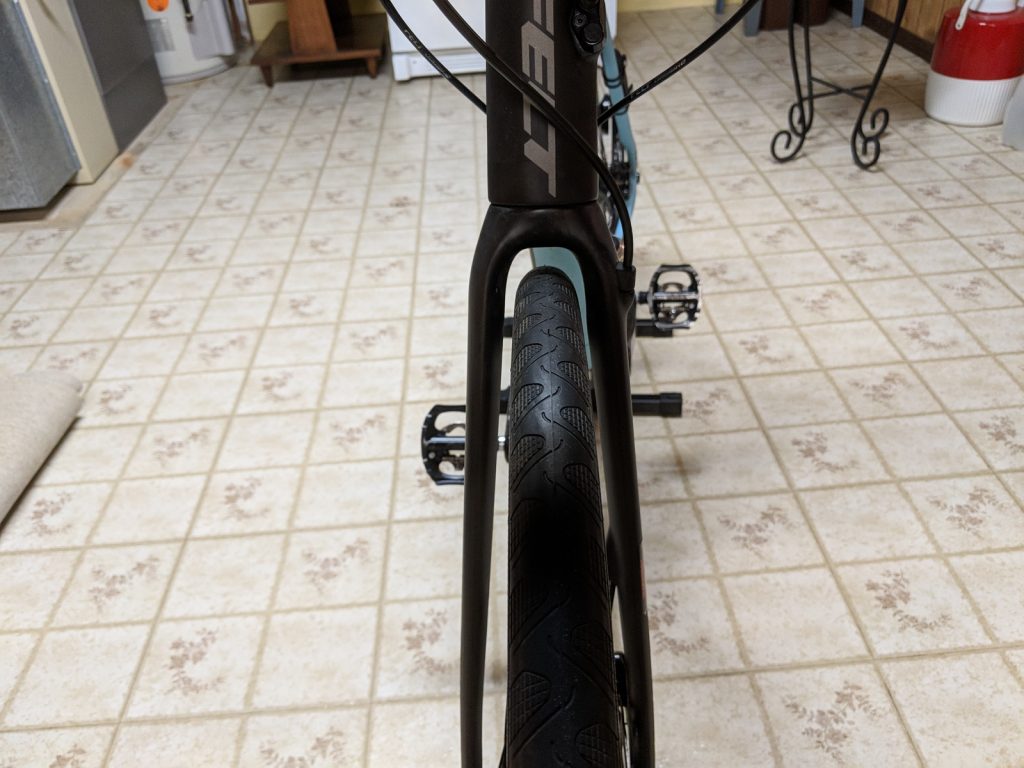
Continental GP 4-Season 700x32c Tires
The 700x28c Vittoria Rubino Pro tires that were OEM equipment on the VR5 are more than adequate for riding that will primarily be on paved roads with limited off-road usage. In fact, I expect that I will put those tires back on the bike if I do another week-long road tour. However, they’re probably marginal on softer, unpaved surfaces such as the GAP trail that I’ll be riding in July. So I replaced the Vittorias with a set of Continental Grand Prix 4 Season 700x32c tires.
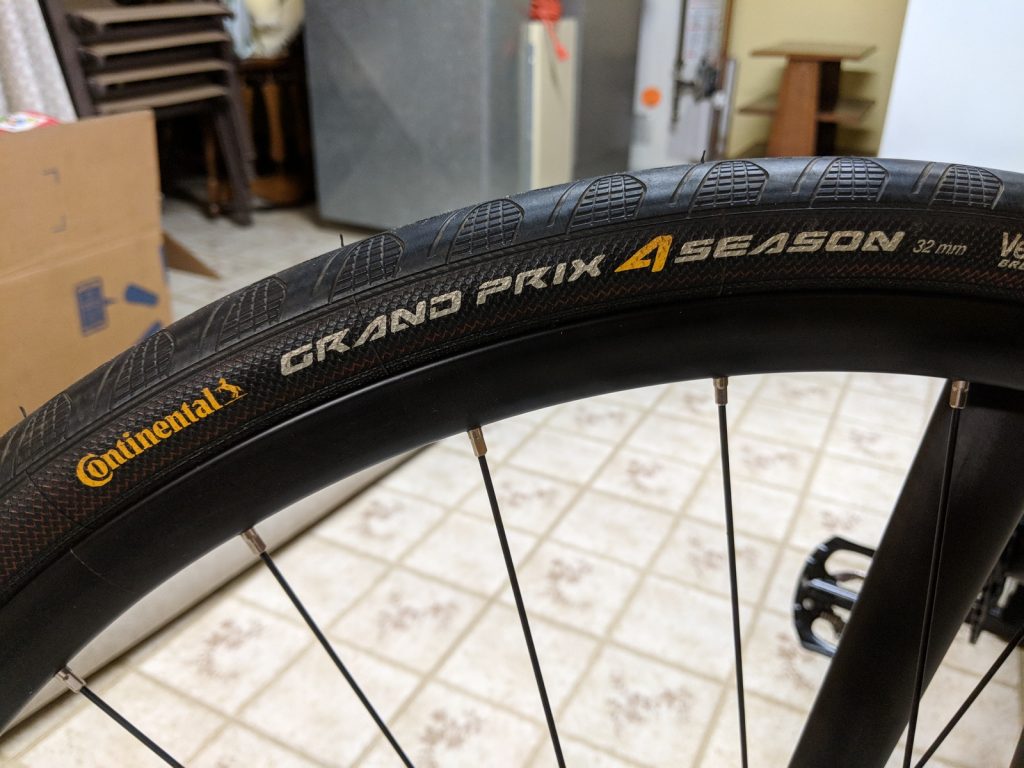
Felt claims a maximum tire size of 700x30c on this bike, but in reality you can get a much bigger tire in there comfortably. I had previous experience with 700x32c tires on a road bike and found them to be very good on marginal surfaces and smooth riding while not adding anything noticeable to the rolling resistance. I’ve also been a fan of Continental tires, having used them on several cars, motorcycles, and bicycles, so going with these tires was a no-brainer. I also considered their Gatorskin tires, which I used successfully on a past bike, but those are definitely heavier and more difficult to mount.
I did not have these on last year’s tour, but mounted them in anticipation of a more trail-oriented tour in August that was later cancelled by the organizers. So I’ll have to wait until this July to give them a true evaluation.
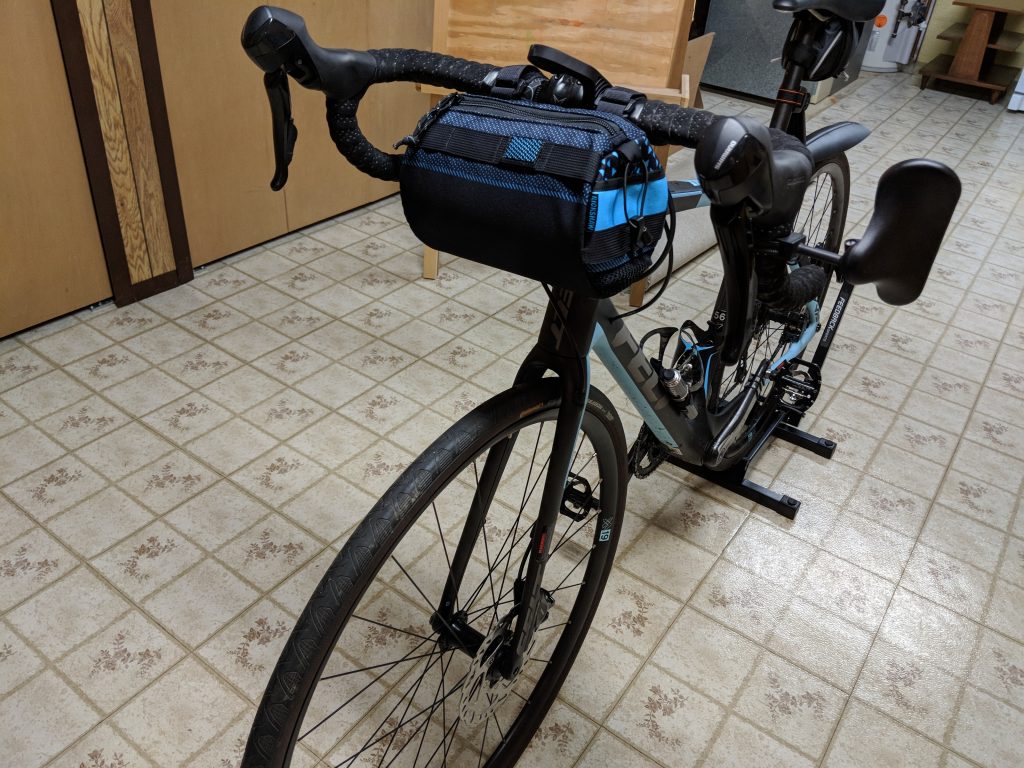
Ultimate Bike Mirror
This was the name that this product was sold as, but it could well be my opinion of it as well. It’s hard to find online and seems to have disappeared from Amazon, so I’m glad I bought two in case this one breaks! For me, this is hands down the best mirror I’ve used on a bike, and I’ve tried everything from bar mount to bar end mount to helmet and eyeglass mounted. There are a number of mounting possibilities, but the one shown is what worked best for me as it keeps it within sight and doesn’t interfere with any of my hand positions on the bars. It has a very wide field of view and is very steady.
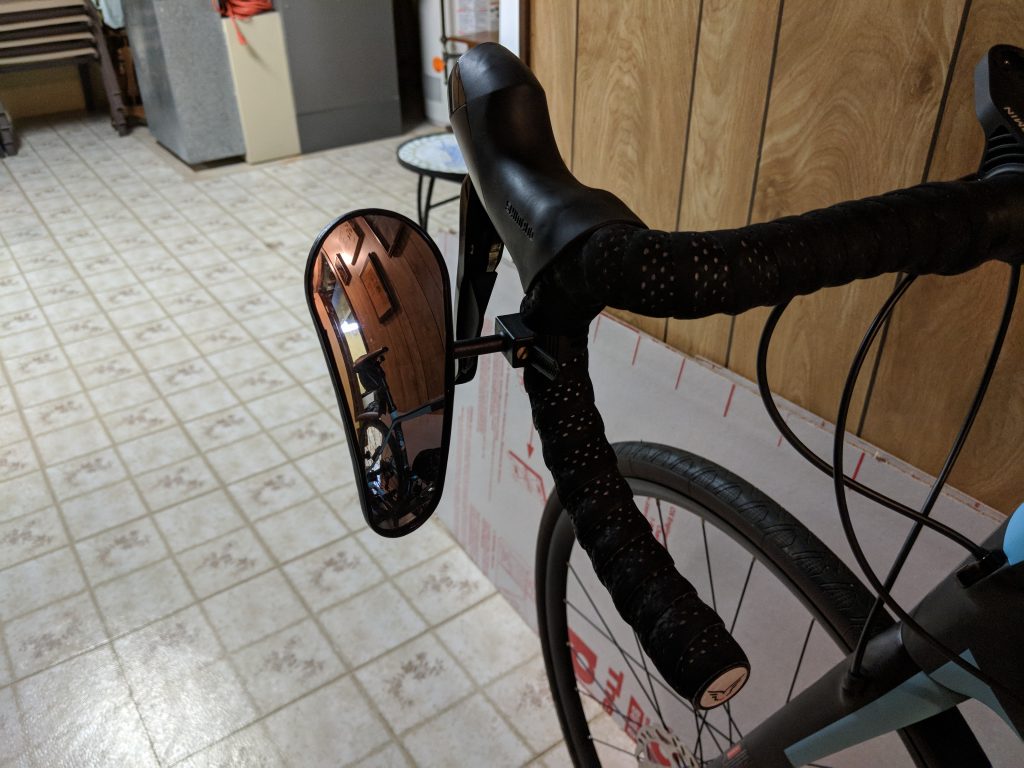
One drawback is that its convexity means that objects in the mirror are a lot closer than they appear! It’s something that you have to adjust to. You can see objects when they are far away, but by the time they are identifiable, they’re right behind you. Again, not an issue if you remember to keep it in mind. The other drawback comes when you have to lay the bike down. You shouldn’t lay a bike on its right side due to possible damage to the drivetrain, but on the left side it will hit the mirror. The trick is to lay it on the left while turning the bars to prevent tweaking the mirror. My biggest problem has been when loading it in the back of my SUV and trying to keep it off the mirror. Fortunately, it has never been damaged and is easily readjusted if dislodged during all this.
2 Comments
Joseph Rasero · March 5, 2020 at 5:09 pm
Doug great blog. Found this from roadbikereview. For me the stock 28mm are plush for roadies but anything not paved or packed I would suggest the 32mm-35mm tires like you did. I had a minor slip on my bike since the stock tires weren’t beefy enough to clear a minor wooden lip off a paved trail.
Doug · March 12, 2020 at 9:36 pm
Thanks for the comment. I always thought that they should have increased the tire clearance a bit more as the current gravel bikes do, but at the time that category didn’t really exist yet.