Of the bikes that I own, the oldest one by far is also the first modern road bike that I purchased some 10 or more years ago. It’s the one that I use for what I call “light touring,” which is to say that I use it mostly on multi-day supported tours where I don’t have to carry my luggage, but I do have to ride most of the day on a variety of roads and in a variety of conditions. It turns out that when I made a brief survey the other day, I realized that over the years the only things left from that original bike are basically the frame, fork, and bars! So I thought I’d write a couple of blog entries documenting what I’ve changed and why, and how I’ve turned this bike into a more suitable mount for my purposes.
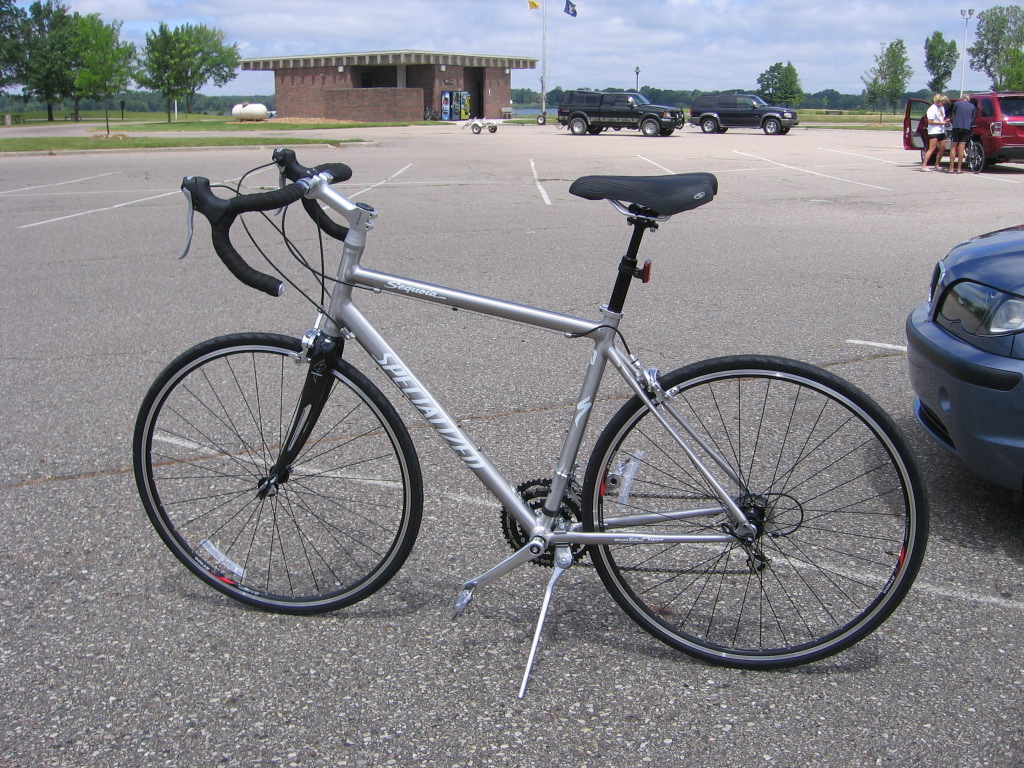
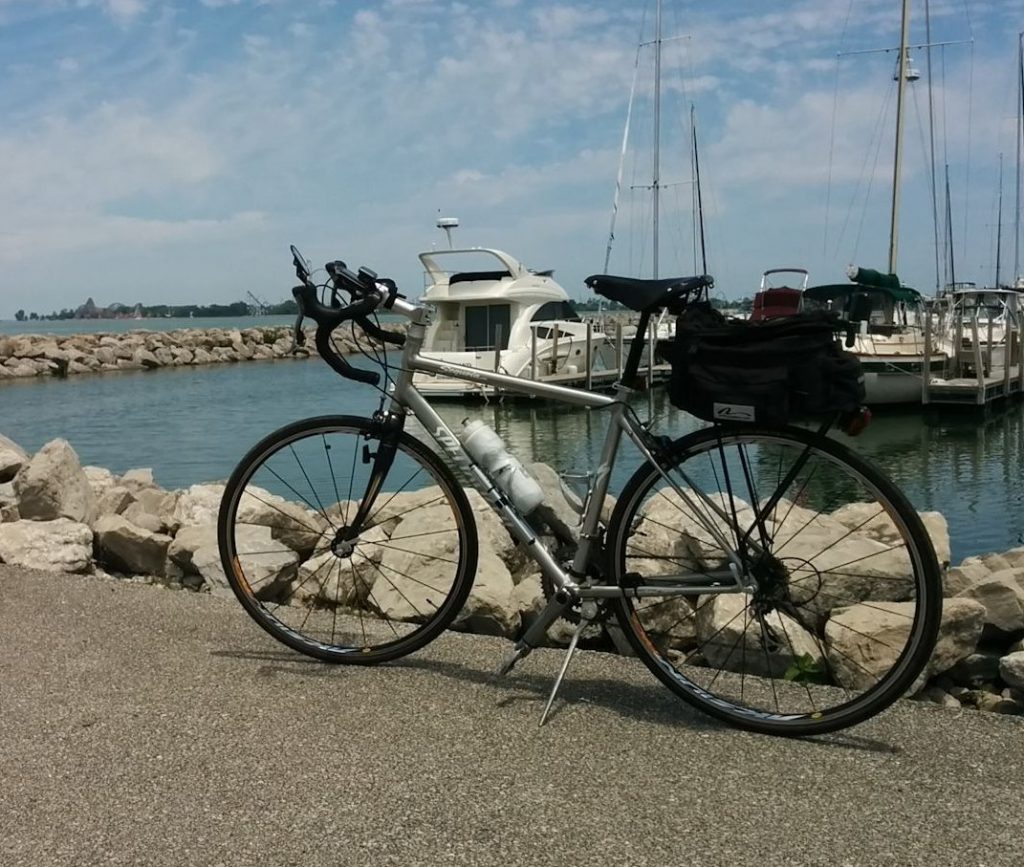
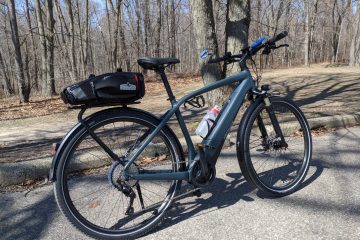
The original bike, as shown in the photo here, is a Specialized Sequoia, which was marketed as an “entry level” road bike. Carbon fiber bikes were less common and much more expensive back then, and this bike followed the common formula of an aluminum frame and carbon fiber fork. It was available in three different component levels, but knowing little about road biking at the time, I settled for the base model. However, the bike did have some features — unknown to me at the time — that eventually lent themselves to the way I ultimately ended up using it.
Drivetrain Upgrades
My previous road biking experience had been on a 1970s-era Schwinn “10-speed racer” with downtube shifters, so the new bike’s gearing and shifting were quite a revelation. But it soon became apparent that there were some shortcoming with the Shimano entry-level Sora components. For one thing, it was a triple crank with an 8-cog cassette (3×8 gearing), so the spacing between cogs on the cassette was wider than what you would get with a 10-cog cassette. But the big thing was that, instead of the dual-lever STI-style shifters on the higher-level gruppos, the Sora shifters used a little thumb lever to shift from a larger to smaller gear. This made it difficult to make shifts from certain hand positions.
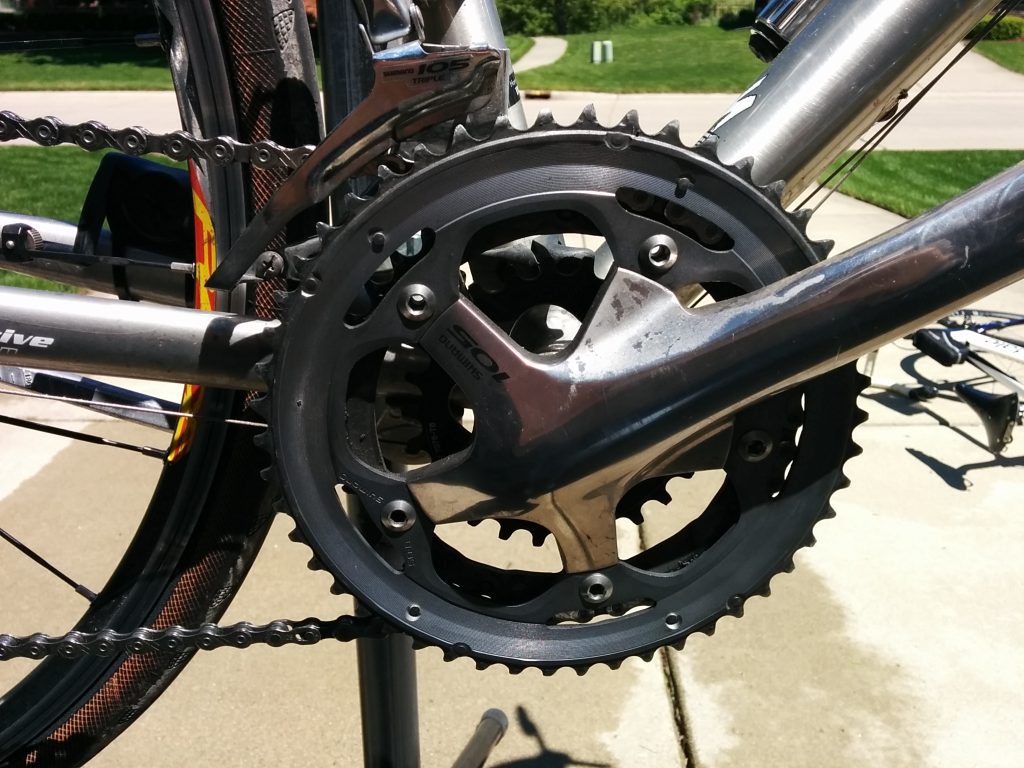
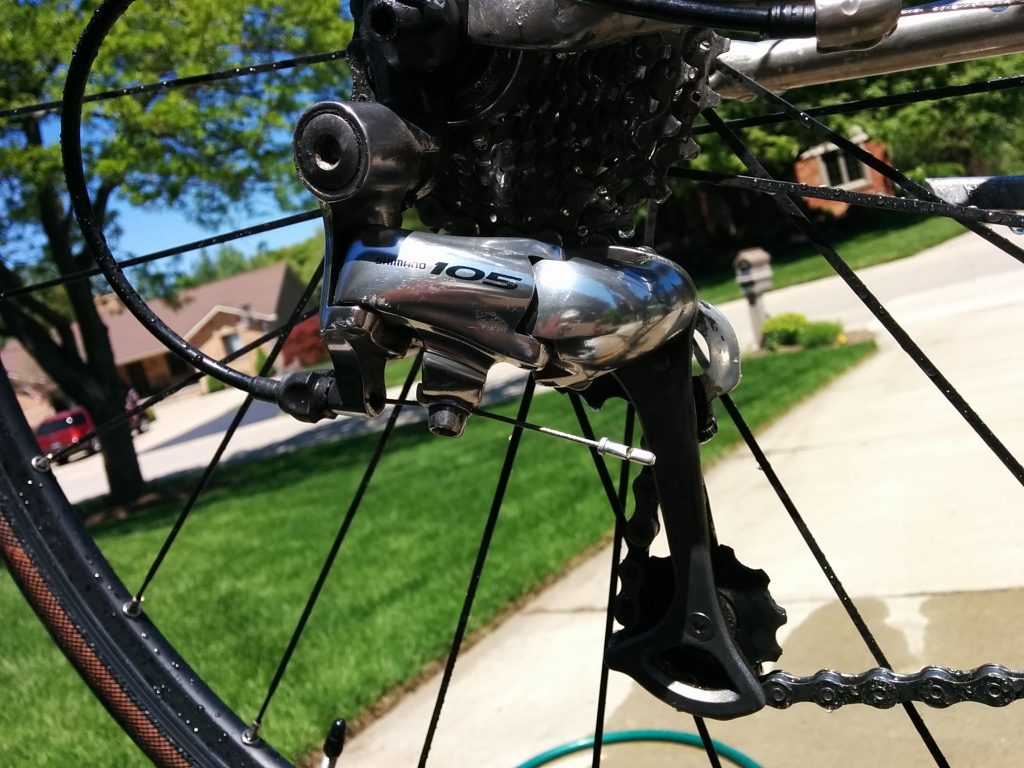
So my first major upgrade was to install a Shimano 105 component group. Then as now, Shimano offered the higher-level Ultegra and Dura-Ace sets (where do they get these names?), but in my opinion the 105 pieces are as much as an average rider needs. At that time, the 105 group was available with a triple crank, making for a 3×10 setup with a 50-39-30 crank and 12-27 cassette. I still think that a triple crank is ideal for a bike like this because it combines the advantage of a low climbing gear (30-27 ratio), but still has the close cassette gearing that makes it easy to find a good cadence when cruising (the first 6 cogs in the cassette are only one tooth apart).
By comparison, my carbon fiber Cannondale Synapse “performance bike” came with a compact double crank and 12-27 cassette. The cassette is still closely spaced, but the lowest gearing is now 34-27, which is difficult for me these days on steep hills. So on that bike I’ve followed the formula that many bikes are now being sold with, which is to pair the compact double with a wider-ratio 12-32 cassette. This yields a low ratio of 34-27, which is close to what I have with the 30-27 on the triple, but at the cost of more spacing between cassette gears. With triples generally disappearing, this is apparently the best that they can do these days.
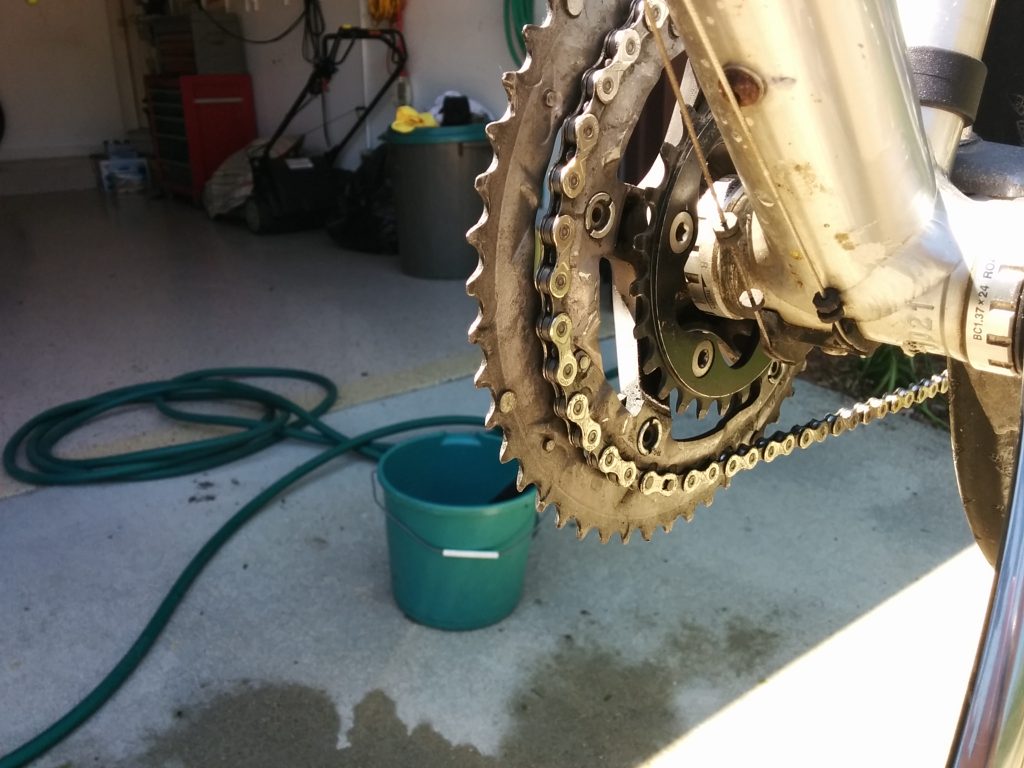
The standard 3×10 combination worked for me for a while, but in the last couple of years I found that as I age I am not getting any stronger as a cyclist and I really hate struggling up the occasional steep grade. So what I did was to replace the inner 30-tooth crank gear with a 24-tooth gear. This finally gives me a true “granny gear” with a very low 24-27 ratio. Yes, the shifting is a bit problematic, but I almost never get onto the inner ring in normal riding, so it has not been much of a problem. I also can only use it with the larger cassette cogs due to the limits of the rear derailleur, but cross-chaining is not good practice anyway and I can always just shift to the middle ring where I spend over 90% of my pedaling time anyway!
Wheels and Tires
Wheels are not a critical item on a bike like this, which is not going to be a lightweight no matter what. But after just a couple of years, it became obvious that the stock low-end wheels were a bit of a problem, mainly having spokes that frequently required tightening. So when I decided to get new tires, I took the opportunity to put on a set of Mavic Aksium wheels. These are strong, but lighter than the standard wheels, and have not required any particular maintenance since the day I installed them.
As for tires, the bike came with 700×25 tires that I ran at about 100-110 psi. At that pressure, the bike really felt “buzzy.” One problem with aluminum as a frame material is that it can be almost too rigid, and with the rough-surfaced chip-seal paving that is prevalent on county roads in this part of the country, it would sometimes almost make my hands numb as the vibration came through the bars.
In addition to solving this problem, I was looking to make the bike more suitable for light off-road use, such as on smooth dirt roads and crushed limestone rail-trails. I wanted to use it in the annual Michigander event in my state, and although they provide road bypasses for the unpaved trails, the trails are generally more interesting and scenic, not to mention keeping you off the highways.
That was when I found out that the Sequoia’s frame had dimensions that would fit a wider tire (as well as fenders if necessary), so I picked up a pair of Kenda 700×32 tires and fitted them on. Instantly they smoothed out the ride almost as if I’d switched from an aluminum frame to carbon fiber. I could run them at 80-85 psi and was also surprised that they didn’t seem to increase the rolling resistance; the bike felt as fast as before for a given effort.

These worked well for their intended purpose for a couple years, but showed themselves to be very prone to puncture flats. The last straw was a 6-day event where I had three flats — all on pavement — including two within a few miles of each other. A new tire solution was called for.
After doing some research this time, I ended up with a set of Continental Gatorskin tires. I could only find them in a 700×28 size, but running at about 90 psi they are as smooth-riding as the previous tires. On top of that, I’ve had them on for a few years and a few thousand miles with no flats. Mission accomplished on that score!
Brakes
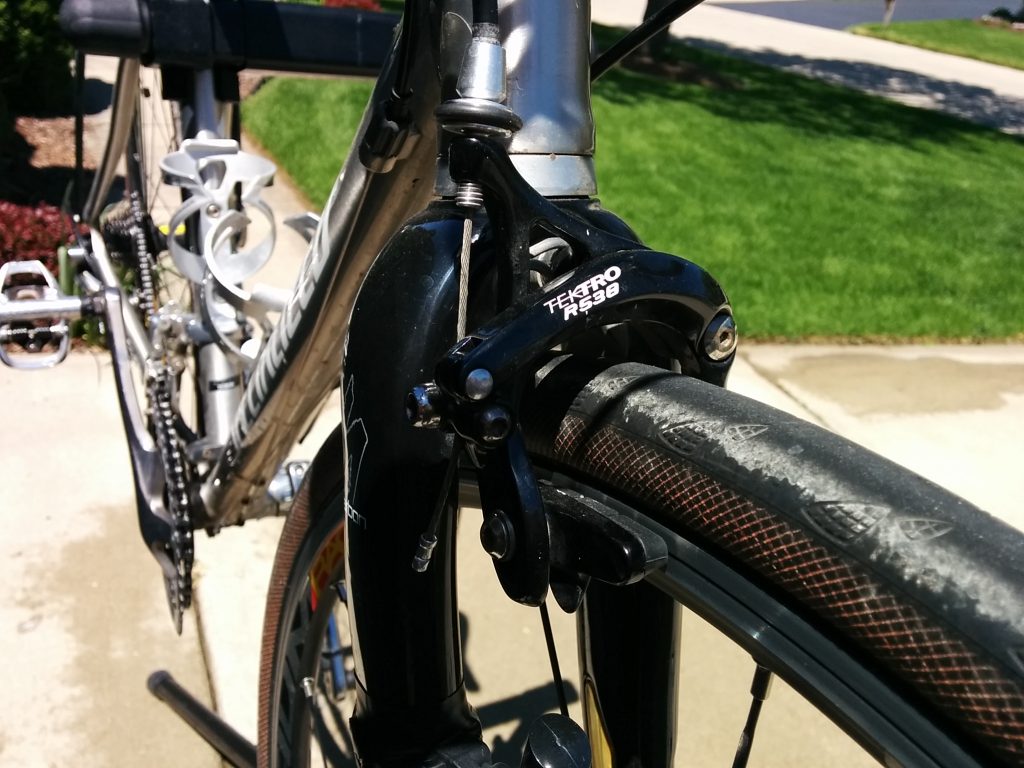
I had no reason to change out the brakes that came on the bike, but when I installed the 700×32 tires, I found that the caliper brake releases didn’t open far enough to install the wheels on the bike. The only way to get them on or off was to deflate the tires, which is not exactly convenient.
It took a bit of searching, but I finally found a set of brakes made by Tektro that are of the correct “long reach” variety with an extra-wide opening position. Installing them completed my conversion to the wider tires.
0 Comments
Joe F · August 4, 2015 at 12:08 am
Very interesting reading, Doug – especially the very last paragraph about the brakes. I wanted to replace a lousy set of Cane Creek calipers on Peggy's 2005 carbon frame Trek with something more akin to Shimano 105 quality brakes. Very hastily I ordered a set of SRAM Apex calipers at a great price and when I tried installing them I was very surprised to see that they just didn't fit at all! Yep, it was that "long reach" thing which amazingly made it hard to replace a set of 2005 brakes in just 5 or 6 short years. Like you, I found some Tektro long reach calipers which turned out to be very nice.